Preparing for an occasion as special as your wedding is, shall we say, a bit stressful? There’s a lot to think about, but come your big day, you should finally be able to stop planning and just have fun with your family, your friends and of course, your partner.
Bad hair days are not allowed here! And you don’t have to go to a salon to guarantee a good one. In fact, how many times have you gotten your hair done at a salon, only to go home and fix it to your liking? Skip the drive to the salon, the extra cash and the at-home redo, and try one of these DIY wedding hairstyles at home.
PONY-O and BUN BARZ make it easy to create elegant updos that will stay put, even through a whole night of dancing. Best of all, these hair accessories are much more comfortable than plain elastic hair ties and bobby pins.
Here’s How PONY-O and BUN BARZ work
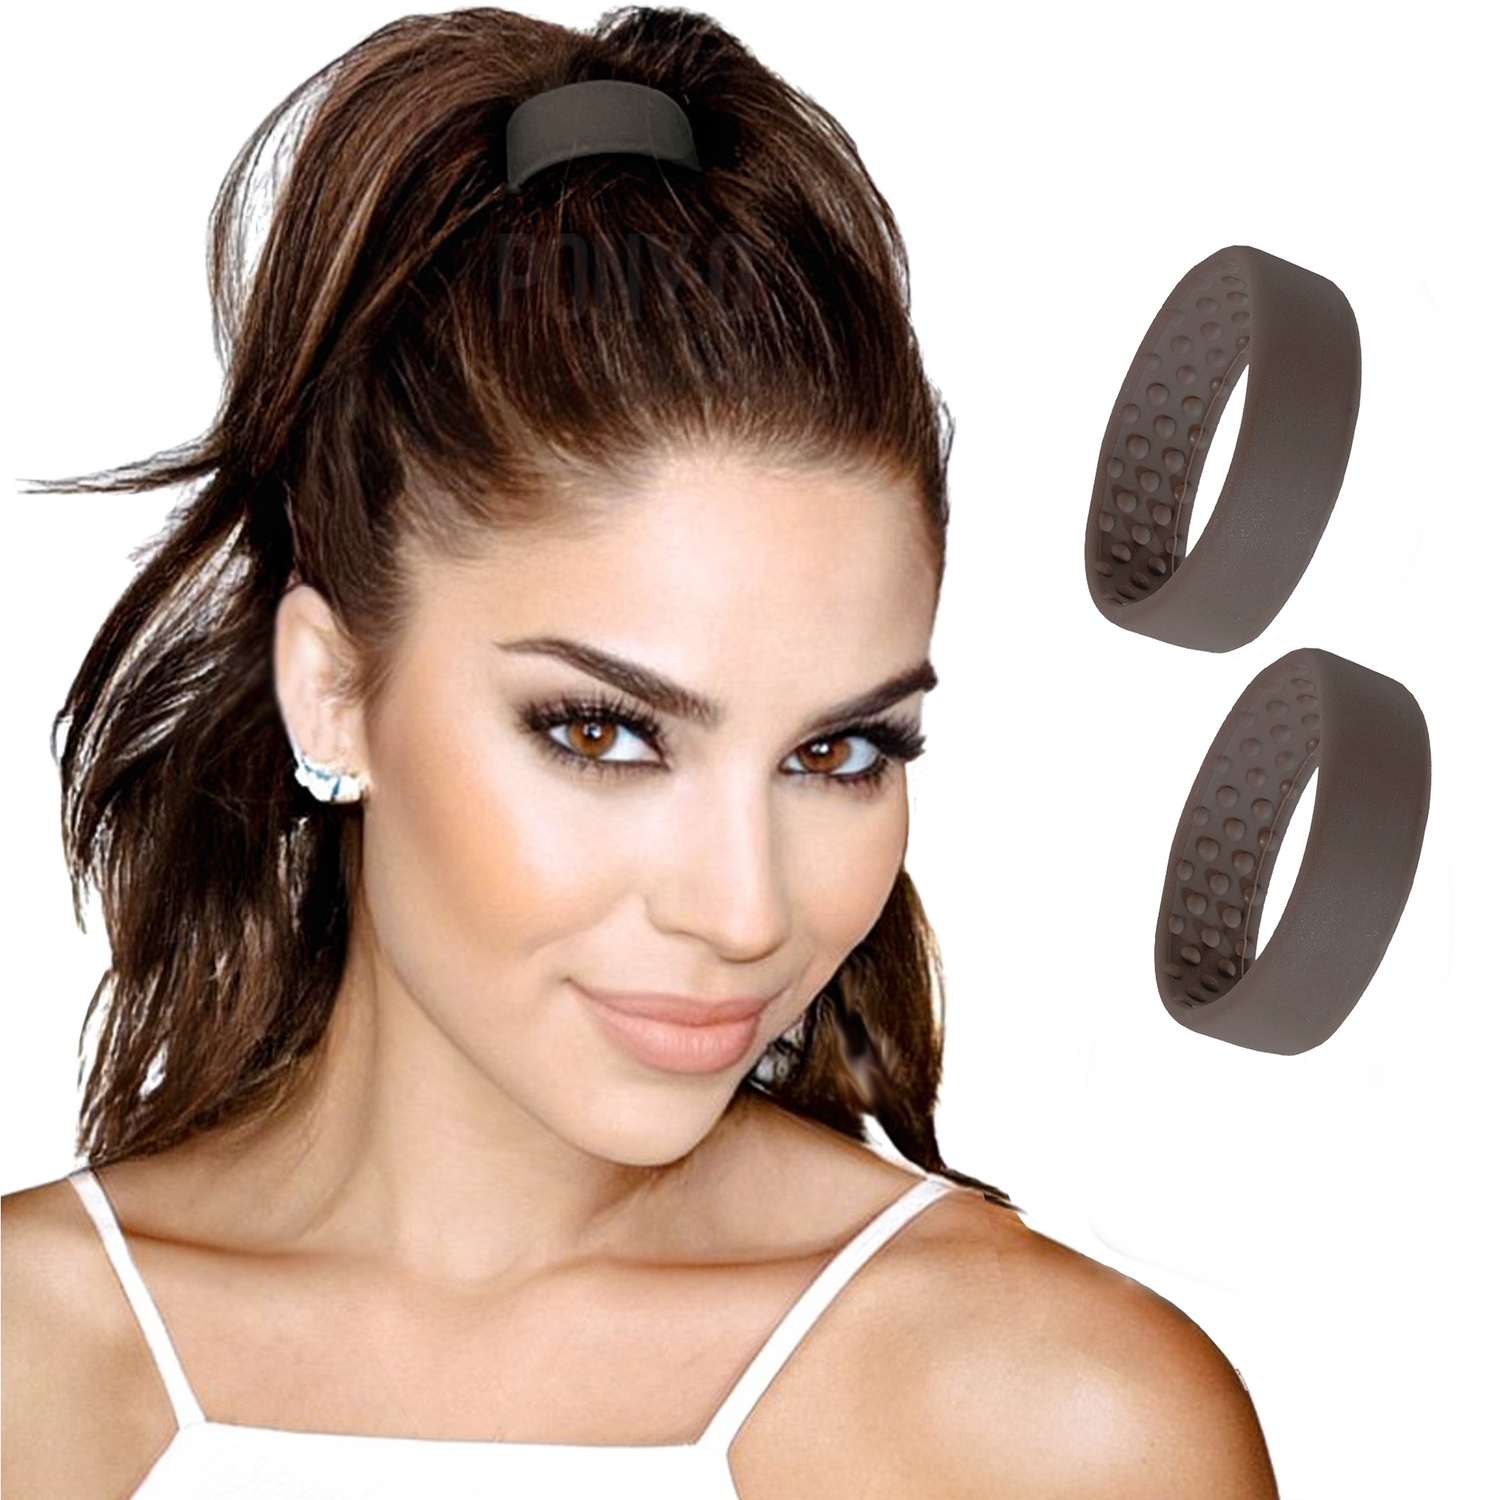
Elastics pull and squeeze hair tight to keep it up, while bobby pins either dig into your head or simply fall out (there’s seriously no in between). PONY-O, on the other hand, bends to hold your hair in place and never loses its shape.
PONY-O is a silicone-coated malleable metal circle with tiny pillows on the inside for holding onto hair. To create a classic, yet fuller-looking ponytail, simply feed your hair through the PONY-O, squeeze the accessory flat, and bend it into shape.
If you prefer a sleek bun, BUN BARZ has you covered. Once you’ve put your hair up with a PONY-O, clamp it between the BUN BARZ and slide it up your ponytail until you reach about halfway or just before your shortest layer. Then, holding the BUN BARZ like bicycle handlebars, roll hair up toward the base of your ponytail. Once there, bend your BUN BARZ into a circle shape and give it a good squeeze. Move hair around the BUN BARZ to create a full bun. If you want it to be a little messier, you can gently tug at strands to loosen it up.
More DIY Wedding Hairstyles
Of course, you may be looking for something a little fancier than a plain ponytail on your special day (although ponytails can be pretty chic!). Take a look below at more DIY wedding hairstyles that look amazing — and more importantly, aren’t that hard to do.
1. Accessorized Bun

Start by combing out a few pieces of hair in the front, either your bangs or a few smaller strands, and pull the rest of your hair back into a ponytail using the PONY-O 2.0 (our thinner version of the original). You can either slightly tease your hair at the top around the base of your ponytail before you put it up to give it a little more volume, or gently tug on strands at the top once your PONY-O is secured.
Next, use BUN BARZ to create the perfect bun. Once it’s up, gently tug at hair around the BUN BARZ to loosen it up a bit. Give your bun a good squeeze and spray with a little hairspray. Then, lightly curl the front pieces you left out of the bun and add a lace or glitzy headband.
2. Half Up-Half Down Hair Covered Ponytail

If you want your hair out of your face, but prefer to wear your hair down, call this style the Hannah Montana because it really is the best of both worlds. You can style your hair straight, curly or wavy too.
First, pull the top half of your hair back into a ponytail using a PONY-O or PONY-O 2.0, leaving out a few strands around your face if you prefer. Then, take a section of hair from the bottom part of your ponytail and wrap it around the PONY-O to completely cover it. Tuck the ends of that section into the PONY-O, and you’re good to go!
3. Loose Bun-Do

If you like a more complicated up-do style, this one looks the part — but it’s actually pretty easy. Start by curling or waving hair to add some texture.
Next, leave out some bottom pieces of your hair by the nape of your neck (enough to make a loose braid) and brush the rest of your hair back into a low ponytail. As you pull your hair through the PONY-O, only pull it half-way through so the ends are left out. Squeeze and bend your PONY-O into shape like you would with a regular ponytail. Fan out the looped-ends of the hair. Then, braid the bottom pieces loosely, wrap them around the PONY-O and secure the ends tightly in the accessory. You can gently tug at strands to make it a little more messy-looking.
4. Low Curly Ponytail

This one’s super easy, but looks oh, so sophisticated! Curl hair and pull it back into a low ponytail using a PONY-O. You can leave out a few curled pieces to frame your face as well to give it a more romantic look. Then, wear your PONY-O as is, or accessorize it with our pearl or metallic BLING RINGZ.
5. Sleek High Ponytail

Anyone can rock a ponytail with PONY-O, but this style works best for ladies with longer hair (or extensions). Wear hair straight, curly or wavy and brush hair back into a high ponytail. If you want it to look really smooth, use a little hair spray and a fine-toothed comb to pull hair back. Secure your ponytail with a PONY-O and cover it with your own hair or add BLING RINGZ to really make a statement.
Tip: For ladies with extra thick or long hair, you should also consider using PONY-O XL, our largest PONY-O for holding up a lot of hair.
See? You’re totally capable of doing your own hair on your wedding day! It doesn’t have to be complicated, it just has to look good and feel comfortable enough to wear down the aisle, through dinner, and on the dance floor. And PONY-O can help.
Wanna Learn More About PONY-O?


