This recipe is so easy, and it only requires TWO ingredients: bananas and olive oil.
Bananas contain silica, which is a mineral element that helps your body to naturally synthesize collagen. In other words, it strengthens and thickens your hair to fight against damage or breakage! It also has antimicrobial properties, which can help with dry scalp and dandruff.
Olive oil strengthens your hair even more by sealing in moisture, leaving it unbelievably soft and silky. Our girl, Shannon, was so surprised by how soft her hair was after this DIY mask treatment!
Here are step-by-step instructions on how to make a DIY banana hair mask to nourish and strengthen your hair.
Step 1: Mash the Banana
Have an old, overly ripe banana in the kitchen? Don’t throw it away! Peel it, put it in a bowl, and mash it up until smooth (some chunks are okay, so don’t work too hard!).

Step 2: Mix in the Olive Oil
Pour 2-3 tablespoons of olive oil on top of your mashed up banana — any brand will do! Then mix it all up, and your mask is ready to go.
Step 3: Rinse Your Hair
Get your hair wet so it’s ready to receive all that banana mask goodness!
Step 4: Apply the Banana Hair Mask
Begin applying the mask to your hair, focusing mainly on the scalp and roots, then bringing it down through your strands until the whole mixture is sitting on those luscious locks.
This can get messy, so be sure to wear an old t-shirt you don’t care about while doing the mask treatment.

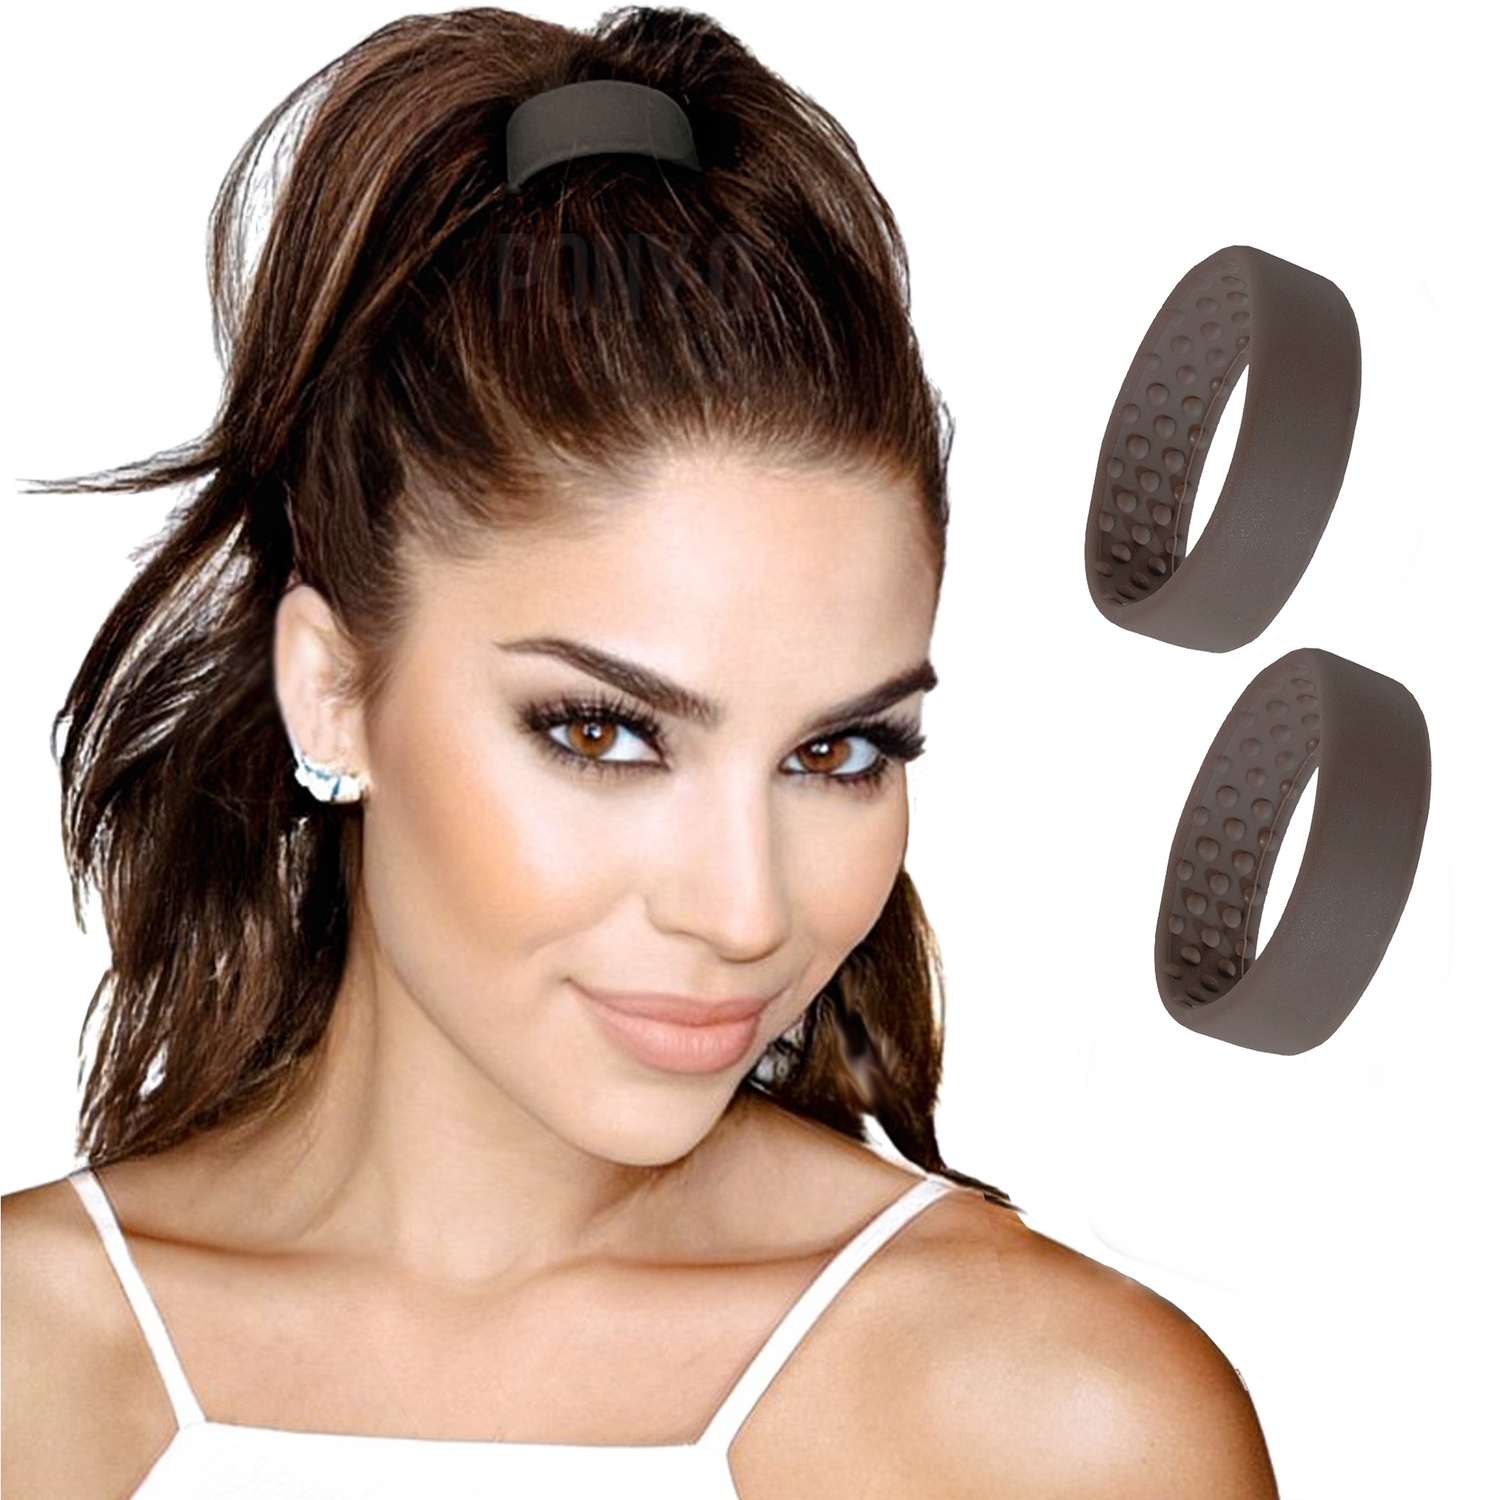
Step 5: Pull Everything Back with a PONY-O
The mask needs to sit on your hair for 20 to 30 minutes, which is where your PONY-O comes into play. Wet hair is very fragile and sensitive, as we explained in our swimming hair care blog, so you need to be extra careful with it. PONY-O is so gentle and non-damaging, making it the perfect tool for putting up your hair while it’s soaking up that mask.
If you really want to turn this into a self care experience, pour yourself a glass of champagne. You deserve it!

Step 6: Rinse Out the Mask
Now that it’s been 20 to 30 minutes, you can go ahead and rinse that mask out with WATER ONLY. This will get all the goo out, but still let some of the mask stay on your hair overnight to continue working its magic.
Step 7: Sleep on It
Get some beauty sleep, girl! Be sure to put your hair back up in a PONY-O before going to sleep to keep it protected all night long.
When you wake up, your hair might feel crusty or oily from the residual mask, so go ahead and hop in the shower for a thorough shampooing and conditioning. Blow dry and style your hair per usual, and enjoy the added softness and volume your hair has!

Applying a DIY Hair Mask for Fuller, Softer Hair
DIY Banana Mask email.mp4 from Nicol Harvie on Vimeo.
If your hair needs some extra TLC, don’t waste your money on an expensive store-bought hair mask. Instead, make your own banana hair mask using an overripe banana and some olive oil. Don’t forget to pull your hair back afterwards with your PONY-O to protect your locks!
More Hair Care Tips From PONY-O:
#ponyohair #hairstyles #easyhairstyles #halfuphairstyles #healthyhair #hairinspo #diy #hairdiy #bananahairmask #oliveoilhairmask #selfcare


